Best Heat Pump Tips UK
Panasonic Aquarea Air Source Heat Pump - Installation Perspective 2024

Choosing The Right Air Source Heat Pump For The Project
Why Do I Choose Panasonic Aquarea Heat Pumps?
From an Installer perspective there are many factors that have really impressed me so far with the Panasonic Aquarea range.
So far I have carried out installations of the J Series units including the mighty J Series T-CAP on retrofit projects, the new K Series R32 Refrigerant Split I installed in our Business Premises for our own hands-on and more in depth product familiarity purposes and more recently I installed the new L Series R290 9 kW unit with the All in One cylinder on a new build/self build project.
Piping Up
All of the models have been very simplistic to install whether from a hydraulic perspective or from a fridge split perspective (the K Series refrigerant split was very easy to connect the indoor & outdoor units due to just 2 flare connections at the ODU and 2 at the IDU). From a hydraulic perspective, Panasonic suggest hard piping the unit without the need for flexi connectors. There are measures within the outdoor unit that counter any vibration noise so Panasonic give the option to pipe straight to the unit. Antifreeze valves can connect onto Lever Valves at the Flow and Return connections and this configuration keeps the pipework seamless.
Wiring Up
The new K and L Series are very straightforward to wire with just one interconnecting cable between the indoor & outdoor units. All models require two separate power supplies as there is a built in Back Up Heater inside the indoor unit on the K & L and inside the outdoor unit on the J Series so the supplies are straightforward and as for wiring the indoor unit from the supplies all the terminals are easily accessible.
Filters
The J Series has an easy access panel on the outdoor unit which enables access to the magnetic filter/strainer whereas the All in One unit which comes with the K & L models has an easy to access magnetic filter housed within it which is great for future servicing.
The Controller
The Panasonic Controller menu is a pleasure to navigate, not in any way over complicated and even has an easy to use Quick Menu. On the Controller, on some of my installs I have used the Controller as the Room Thermostat for better efficiency.
The Network Adapter
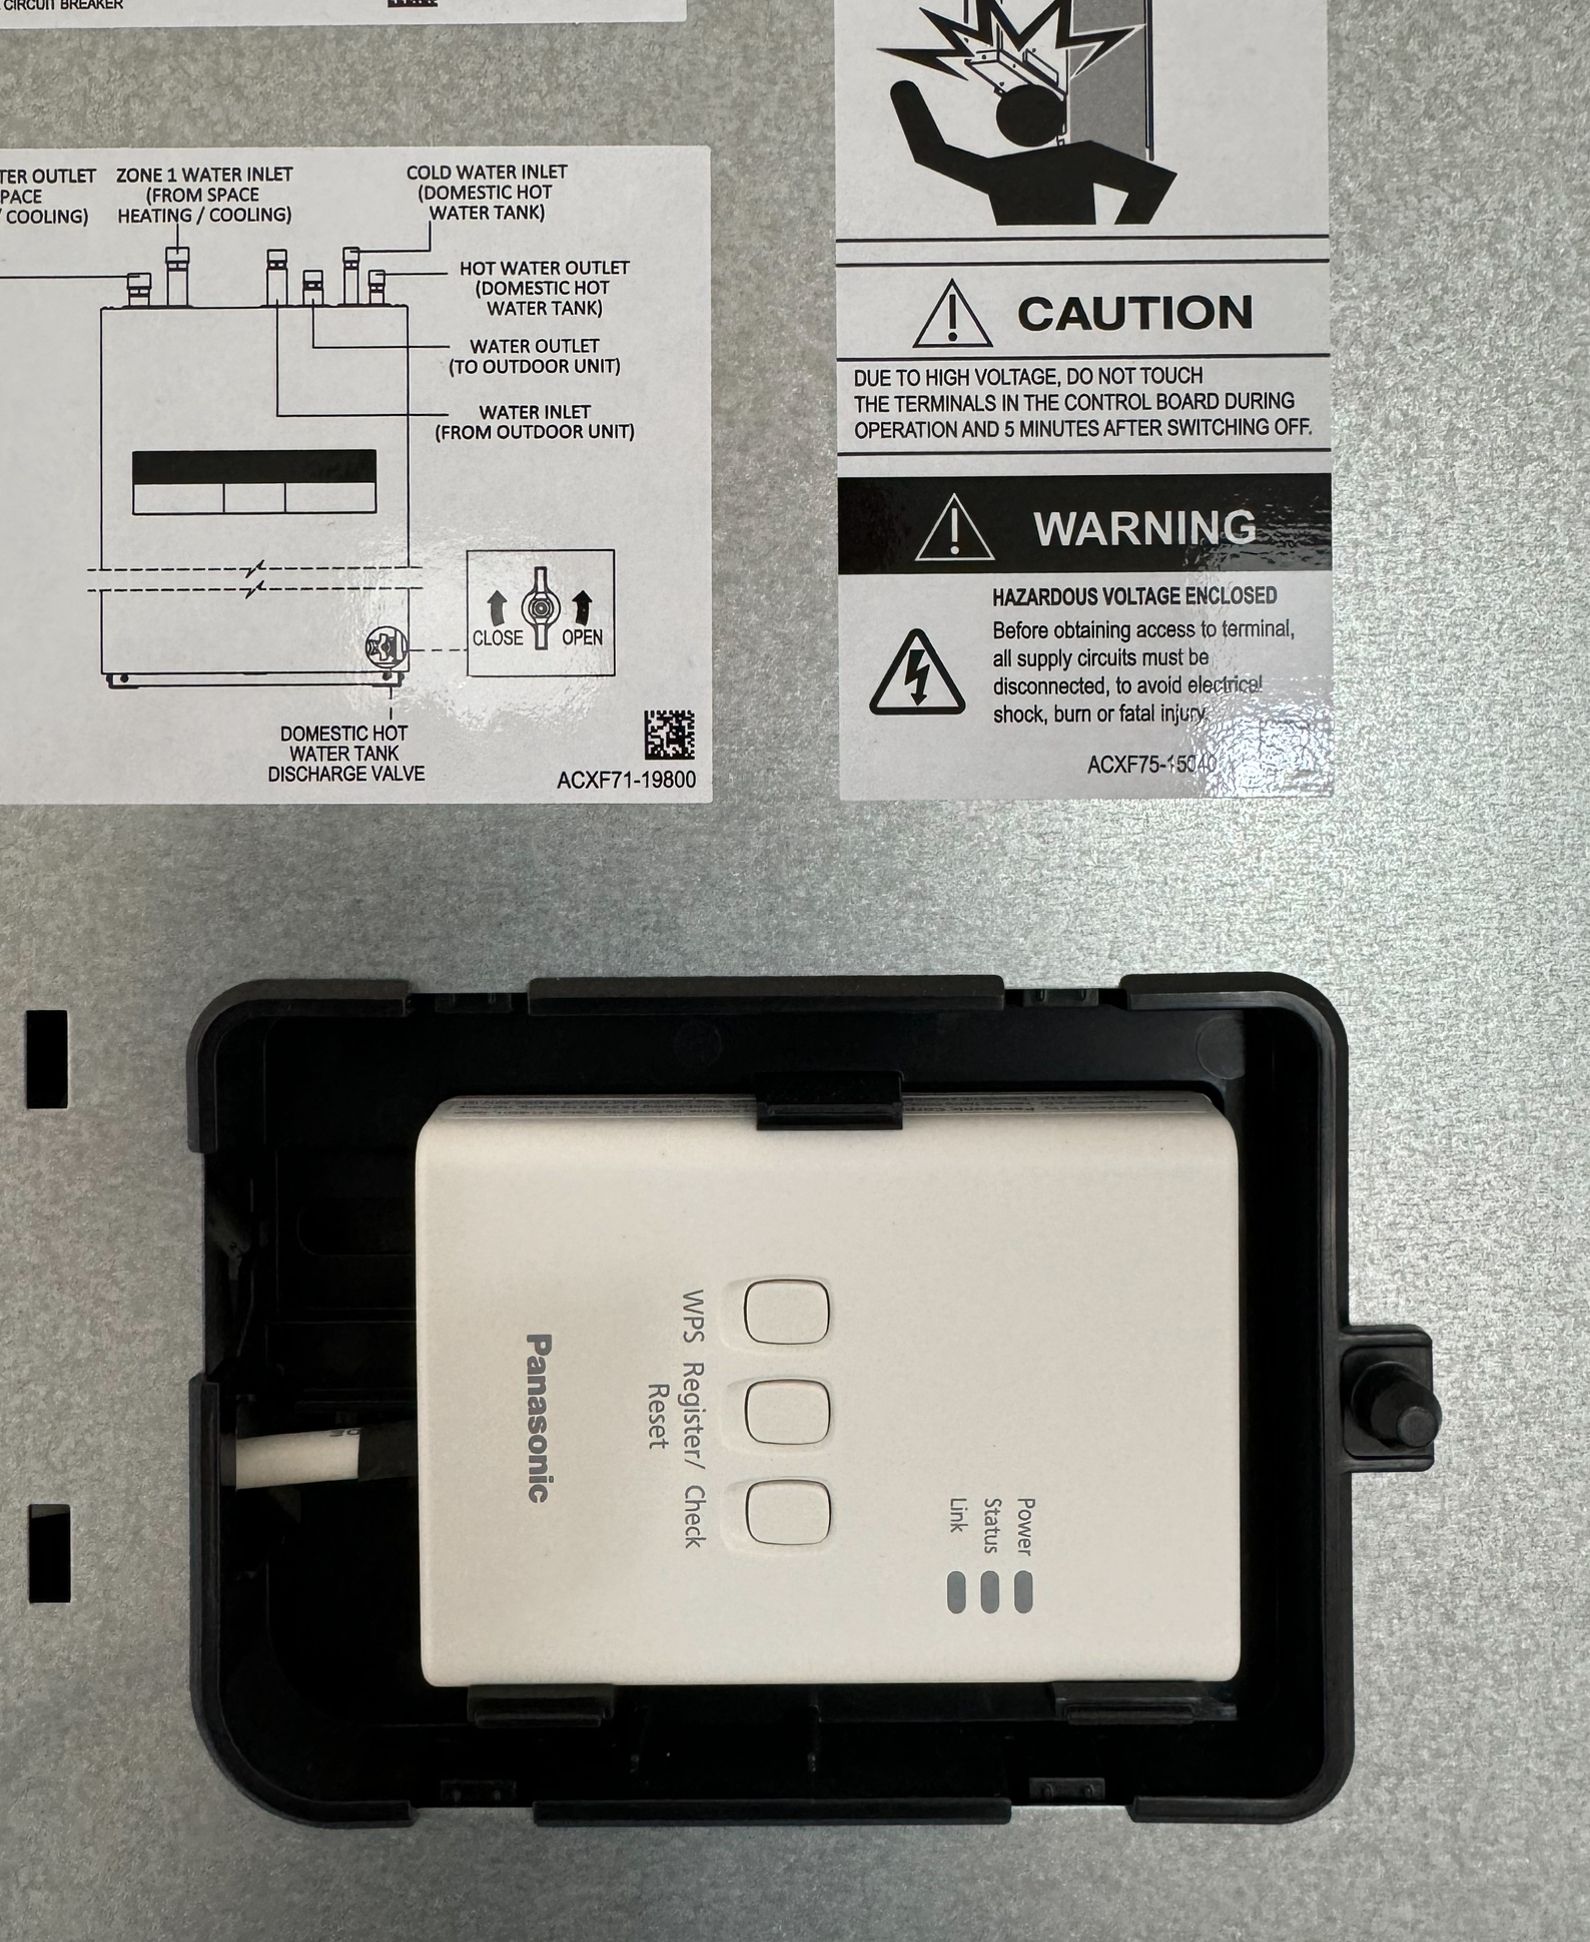
Connecting the Panasonic Network Adapter to the K & L All in One is a very simple process by housing the Adapter within its pocket inside the AIO and plugging in the cable on the PCB whereas with the J Series the Adapter cable is wired to the outdoor unit. The process to connect the Adapter to the Wi-Fi is the probably the easiest I've seen so far and connecting the Client's device to the Adapter has been straightforward.
My own opinion from a wiring perspective is that the new K & L Series are that little bit easier due to there being just one interconnecting cable.
Once the system is live and the Client's smart device is paired with the Comfort Cloud App, I like the way Panasonic go way further by offering the Client the opportunity to register on the Panasonic Service Cloud. This is at no extra cost to the Client but with the Client's consent the Manufacturer and the Installation Company can remotely monitor the system for performance and for future maintenance purposes. It really is a fantastic concept for that extra peace of mind.
As a Panasonic Pro Partner I can offer 7 Years full parts and labour Warranty upon commissioning of the system which again is great for the Client.
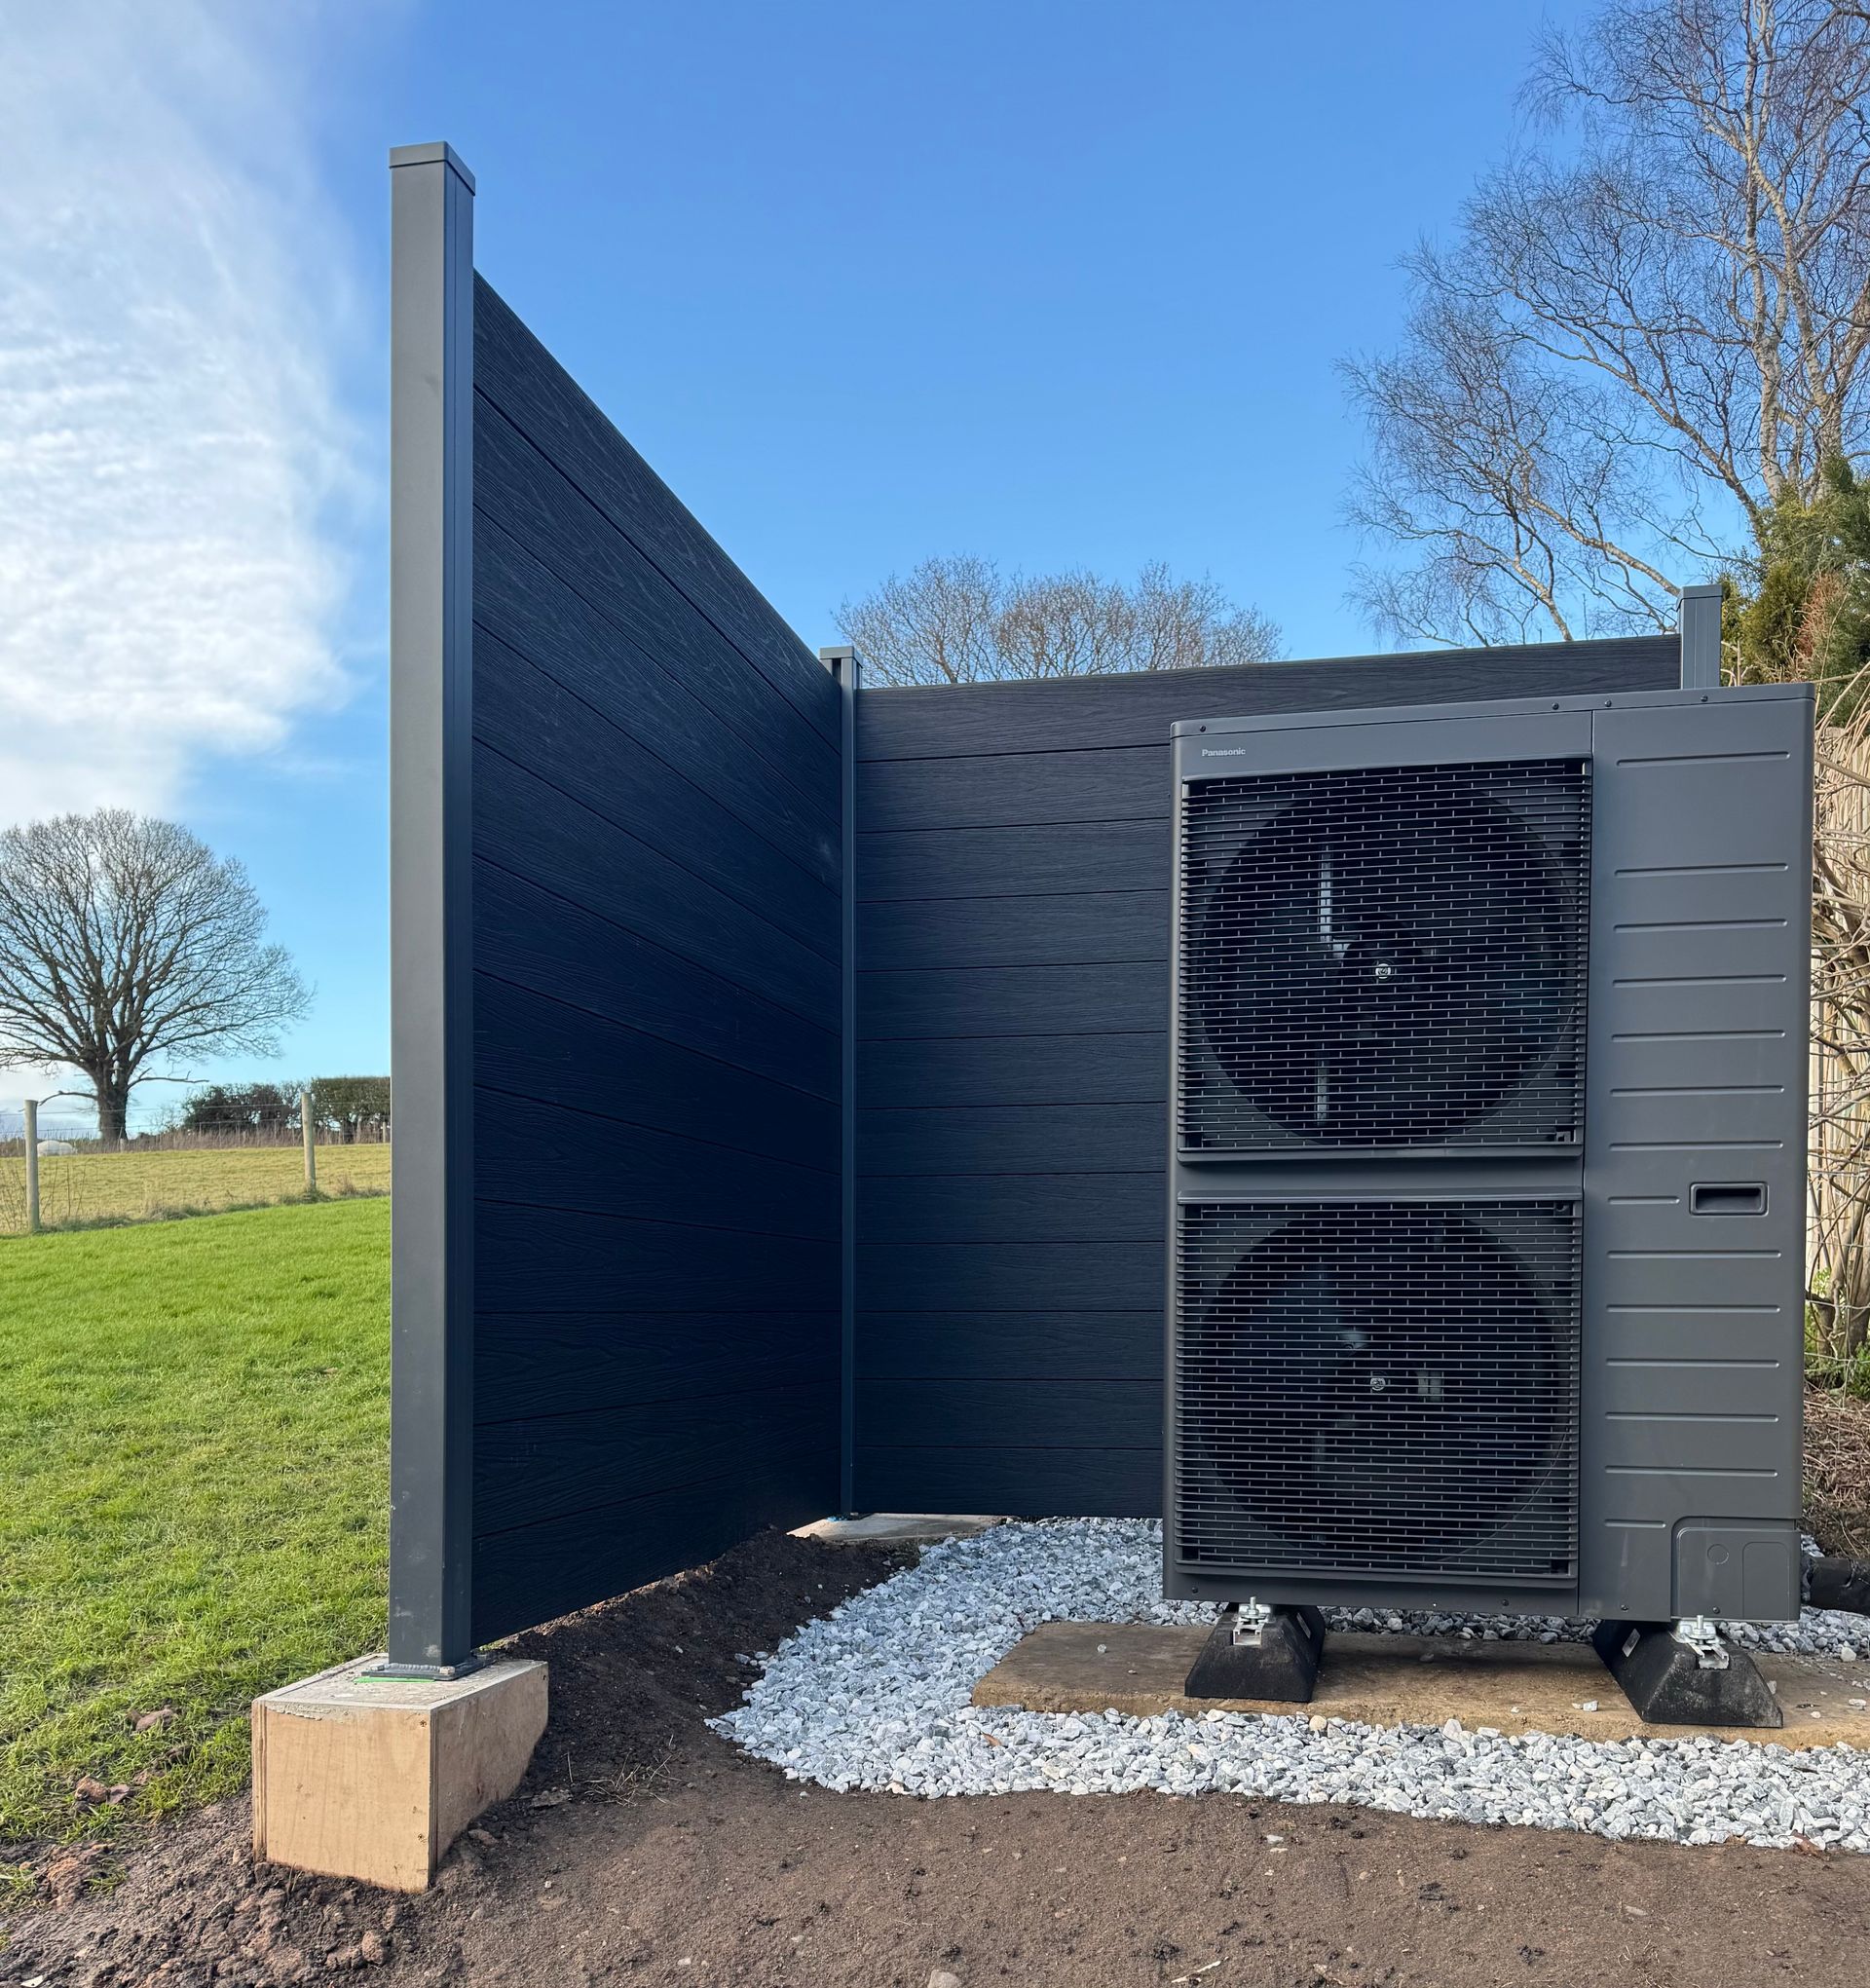
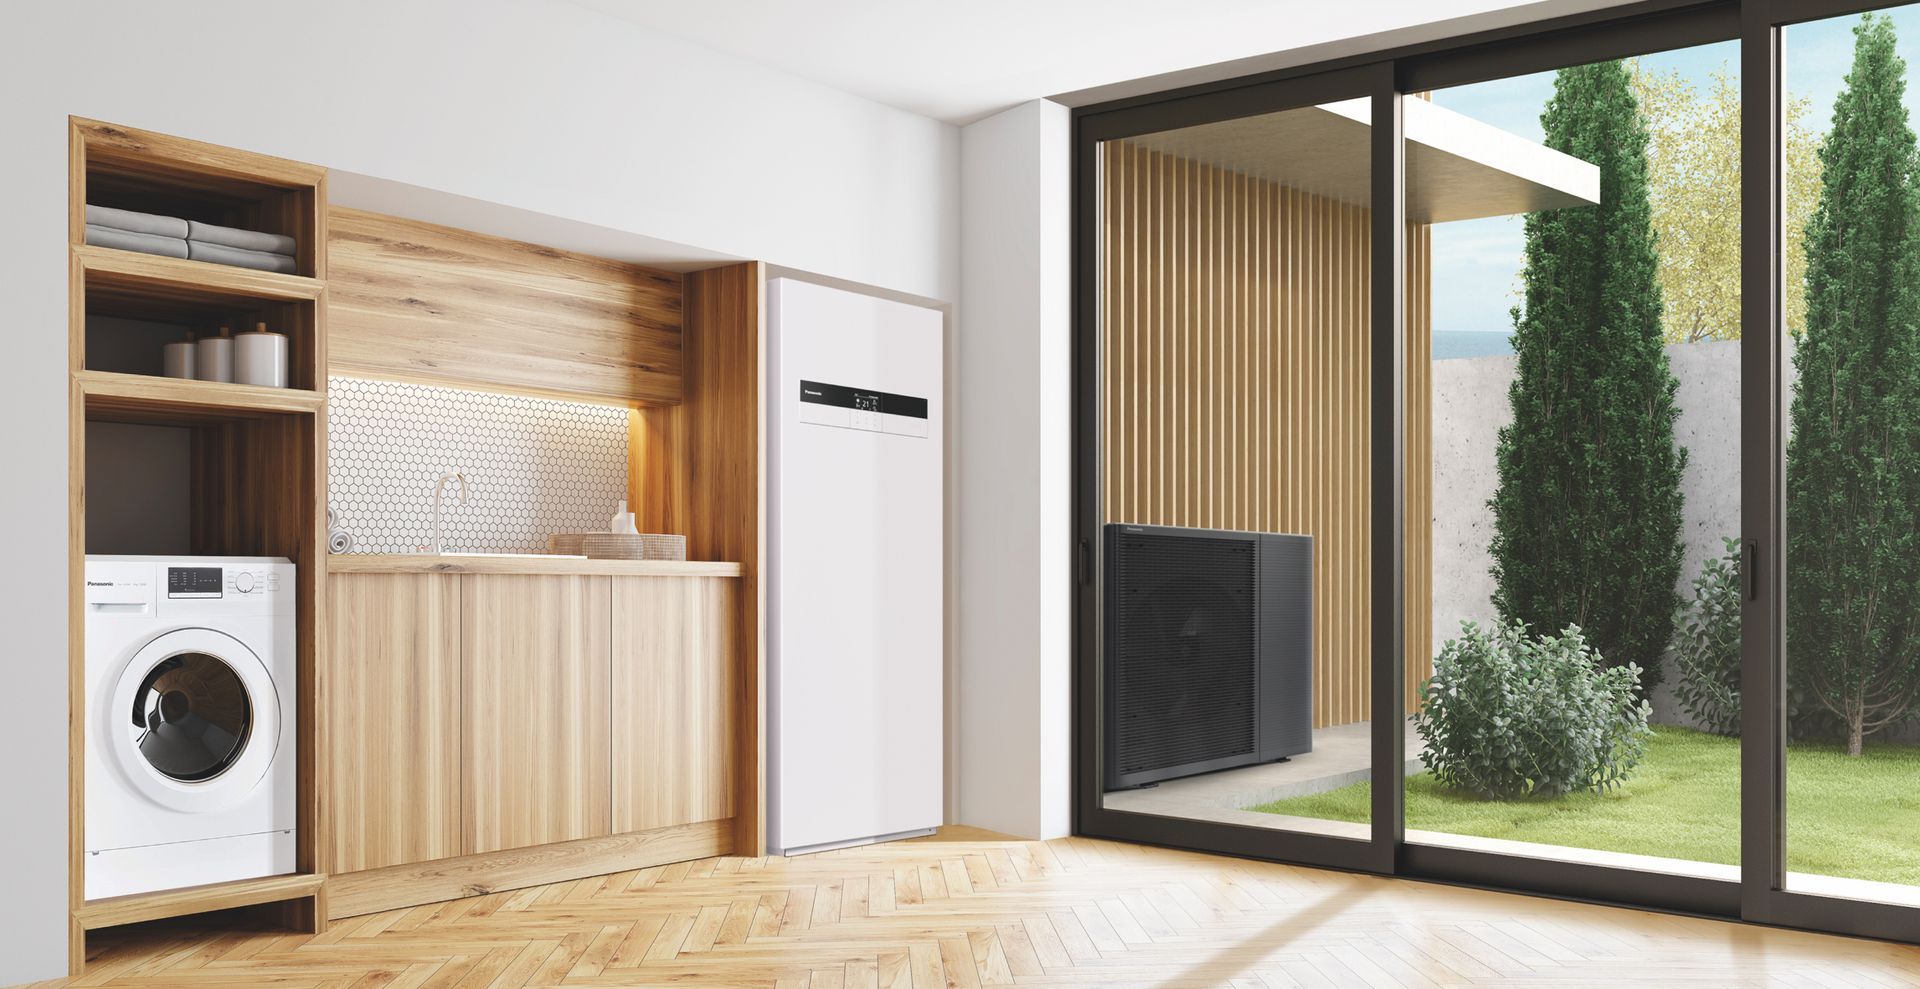
The k & L Series Heat Pumps are in Anthracite Grey and look as though they could naturally blend in to almost any background. As for sound I found that the T-CAP model was surprisingly really quiet for its size and capability and I found the R290 L Series even quieter than the K Series. On sound, the Panasonic Controller has a Quiet Mode setting which has 3 levels to reduce the dBA levels further.
Panasonic also offer some of the best COP and SCOP efficiencies in the UK heat pump marketplace.
In this section I have tried to highlight what positively appeals to me with the Aquarea range from an Installer perspective. The Panasonic Aquarea range of heat pumps are very, very good performing units, the technology is capable of delivering great efficiency figures and quite soon even properties with a much larger heat loss will be able to have a heat pump solution with larger capacities soon to be available from the R290 M Series range with Capacities up to 30 kW.
The R290 units due to their high flow temperature capabilities are ideal for many retrofit solutions that have older radiators for example. R290 refrigerant performs so well reaching flow temperatures of up to 75 degrees for heating using less energy meaning that even Homeowners living in the more harsher winter climate areas can confidently switch from fossil fuel and enjoy a greener way of heating their home.
T-CAP, A Recent Heat Pump Case Study
When first looking into having an air source heat pump installed it is helpful if Homeowners can get more information and Case Studies can often help and provide answers to some questions they may have. This particular Case Study was with my Clients and Panasonic discussing the J Series T-CAP which was installed in April 2024. Enjoy!
The Panasonic Network Adapter
The Panasonic Network Adapter allows the End User to pair their smart devices to the Comfort Cloud App and also enables the system to be registered on the Panasonic Service Cloud with Client consent.
Discussing the Panasonic Aquarea K Series 5 kW R32 Refrigerant Split with All-in-One Cylinder
Personally I really like the K Series as it seems to be the way its done more commonly in Europe by connecting the indoor and outdoor units simply using refrigerant pipes just like air conditioning. Connecting in this manner eradicates the necessity for glycol, antifreeze valves, filter ball valves, lever valves and compression type connections normally associated with hydraulic split units with a flow and a return pipe. The other factor that appeals to me is that the outdoor unit can be installed much further away from the indoor unit which helps on projects where the outdoor unit needs to be further away from the house we can offer a solution with a refrigerant split unit.
Heat Pump Energy Consumption kWh
Upon commissioning of your new system the Controller Settings would be configured to suit your needs whilst delivering the best efficiency but as time goes by you will still want to see how your energy consumption and your energy generation is looking. The Panasonic Controller has a great little setting which is easy to navigate to. Here, in Energy Monitor you can see Consumption, Generation and COP (Coefficient of Performance). Check out the video below
Installation Workmanship
With the installation aspects every project is different whether a new build or retrofit. For the best part of 2 years Geberit Mapress Fittings have been used for my pipework in most cases except for tight areas where the Geberit Press Tool cannot practically fit. Using Press Fit Copper Fittings reduces the need for soldering and hot works. For outdoor insulation we have began more recently using Primary Pro Insulation as it is a very good 19mm wall insulator and for internal pipes 19mm Arma seal or Climaflex is the go-to. For refrigerant pipes 13mm wall insulation. For the indoor plant, in most cases and where possible I prefer to ply-line the wall with 3/4" smooth finish so the furnishings can be mounted in a neat fashion.
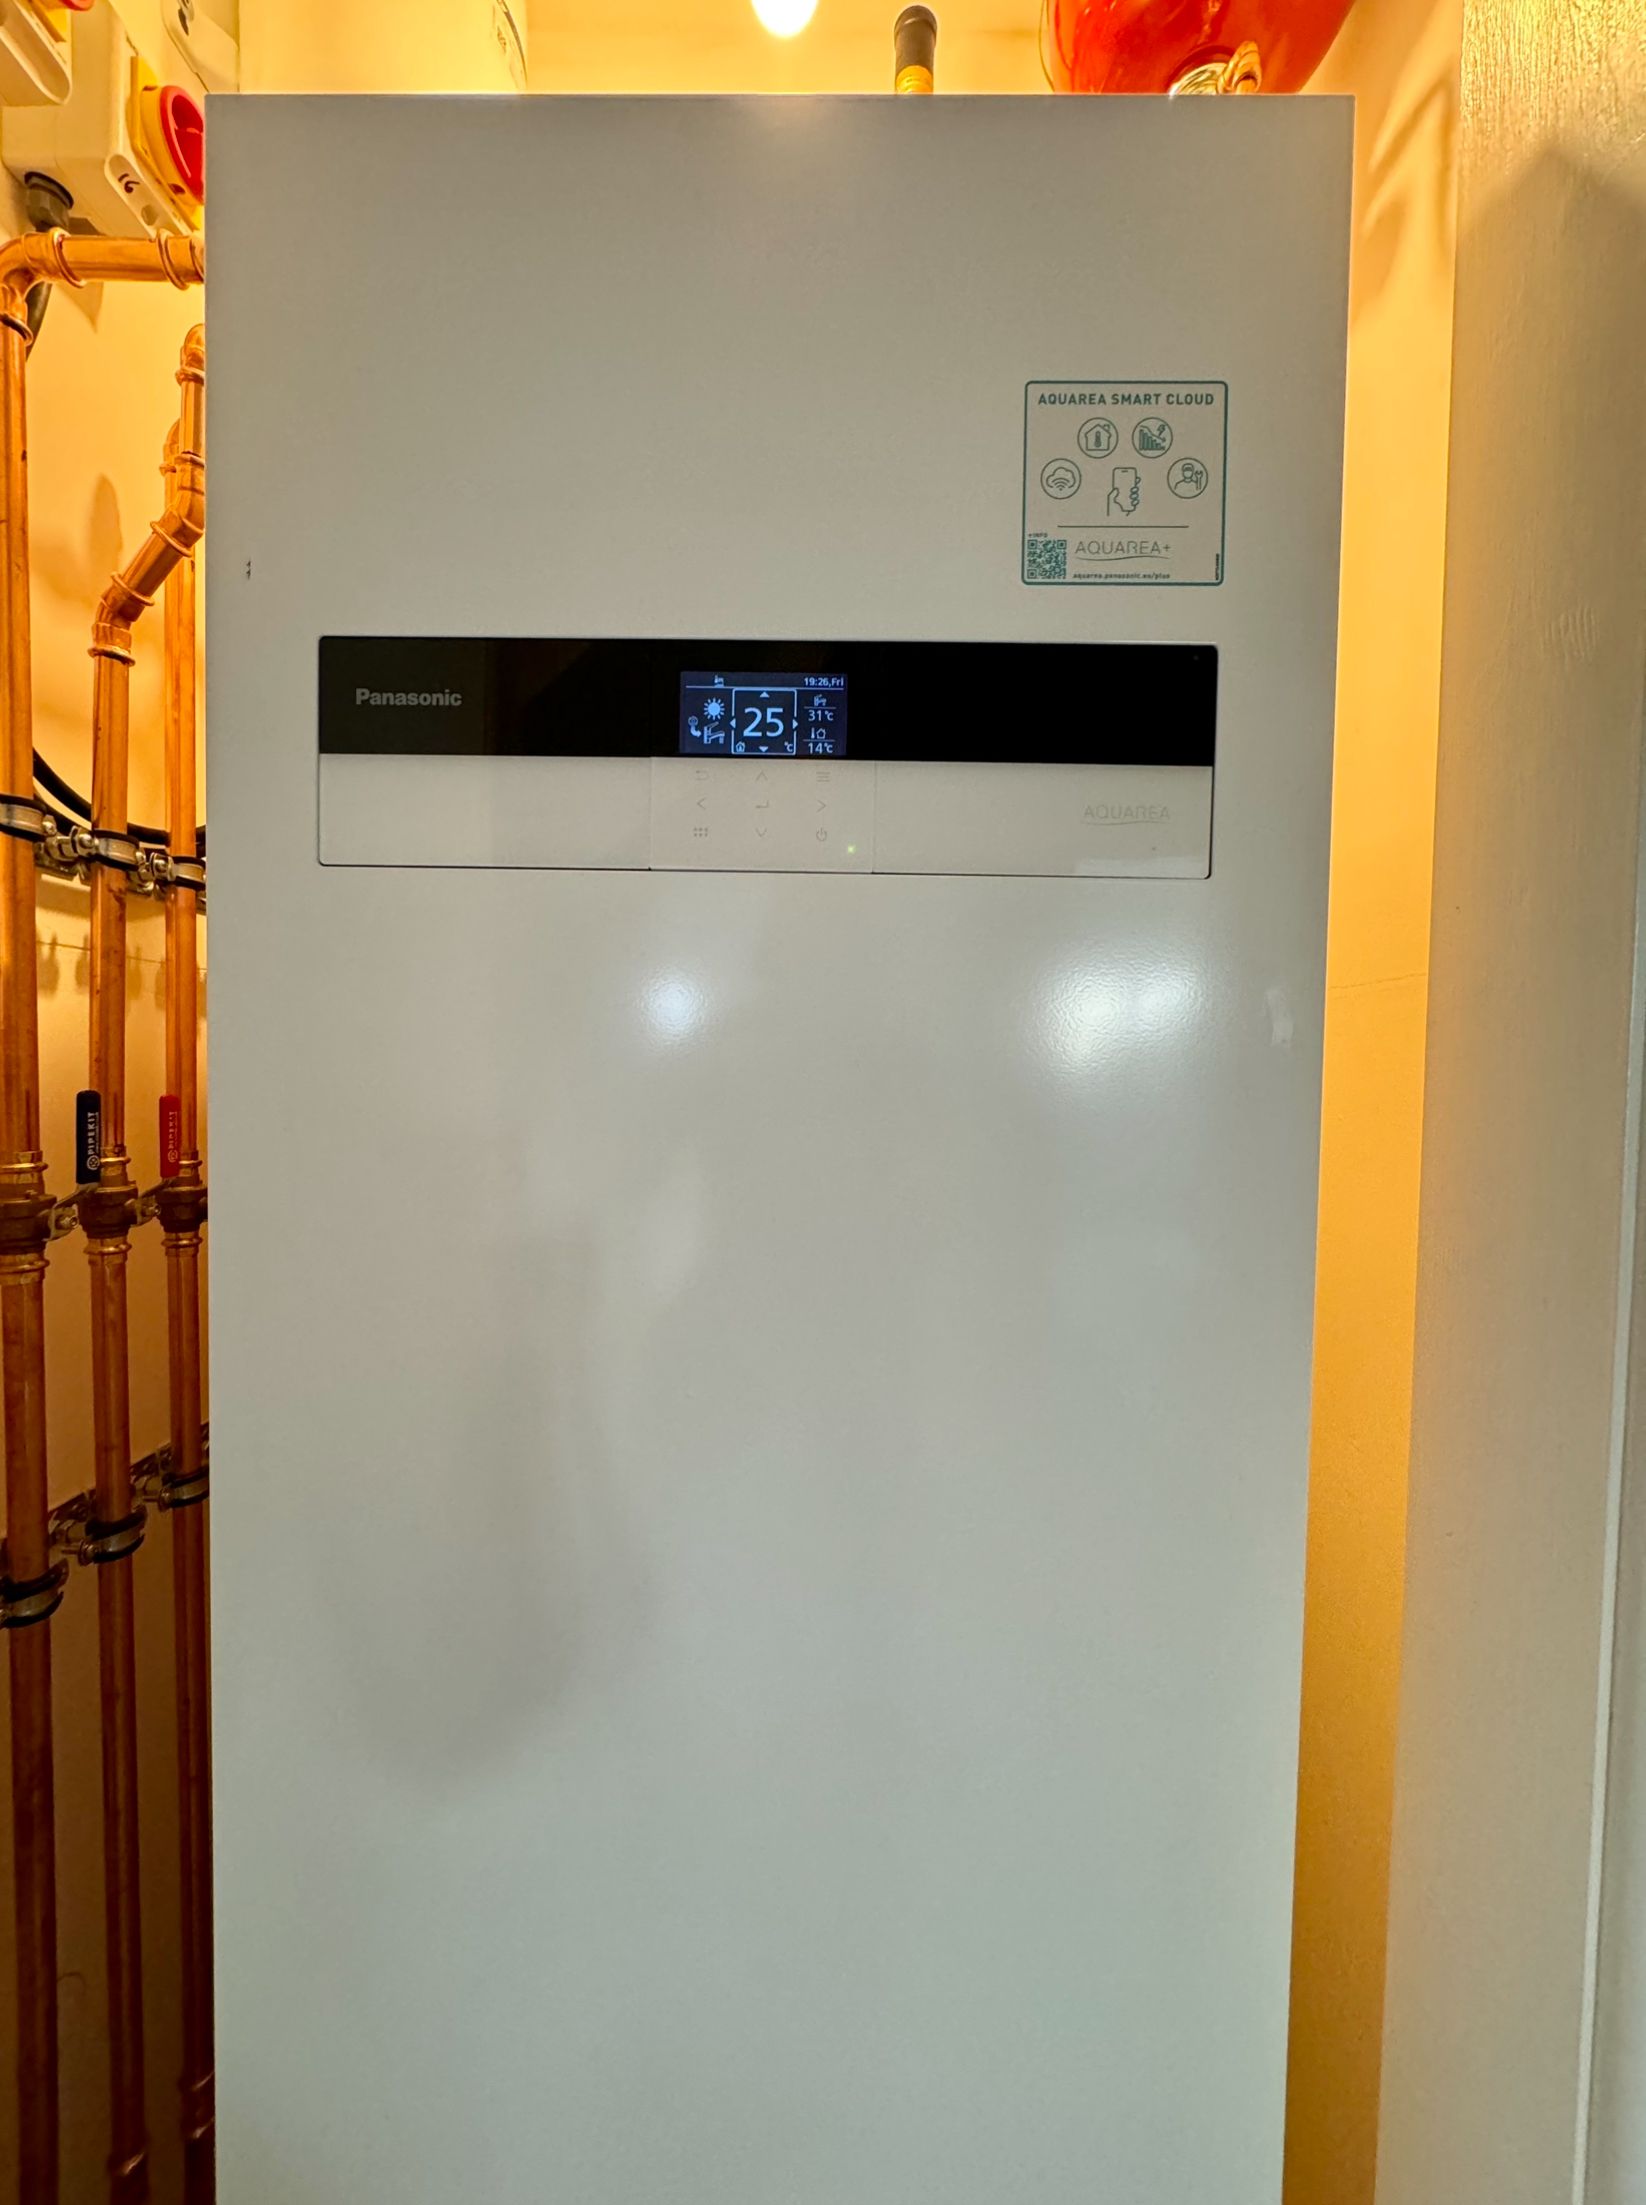
Panasonic Aquarea L Series 9 kW R290 Air Source Heat Pump With All In One
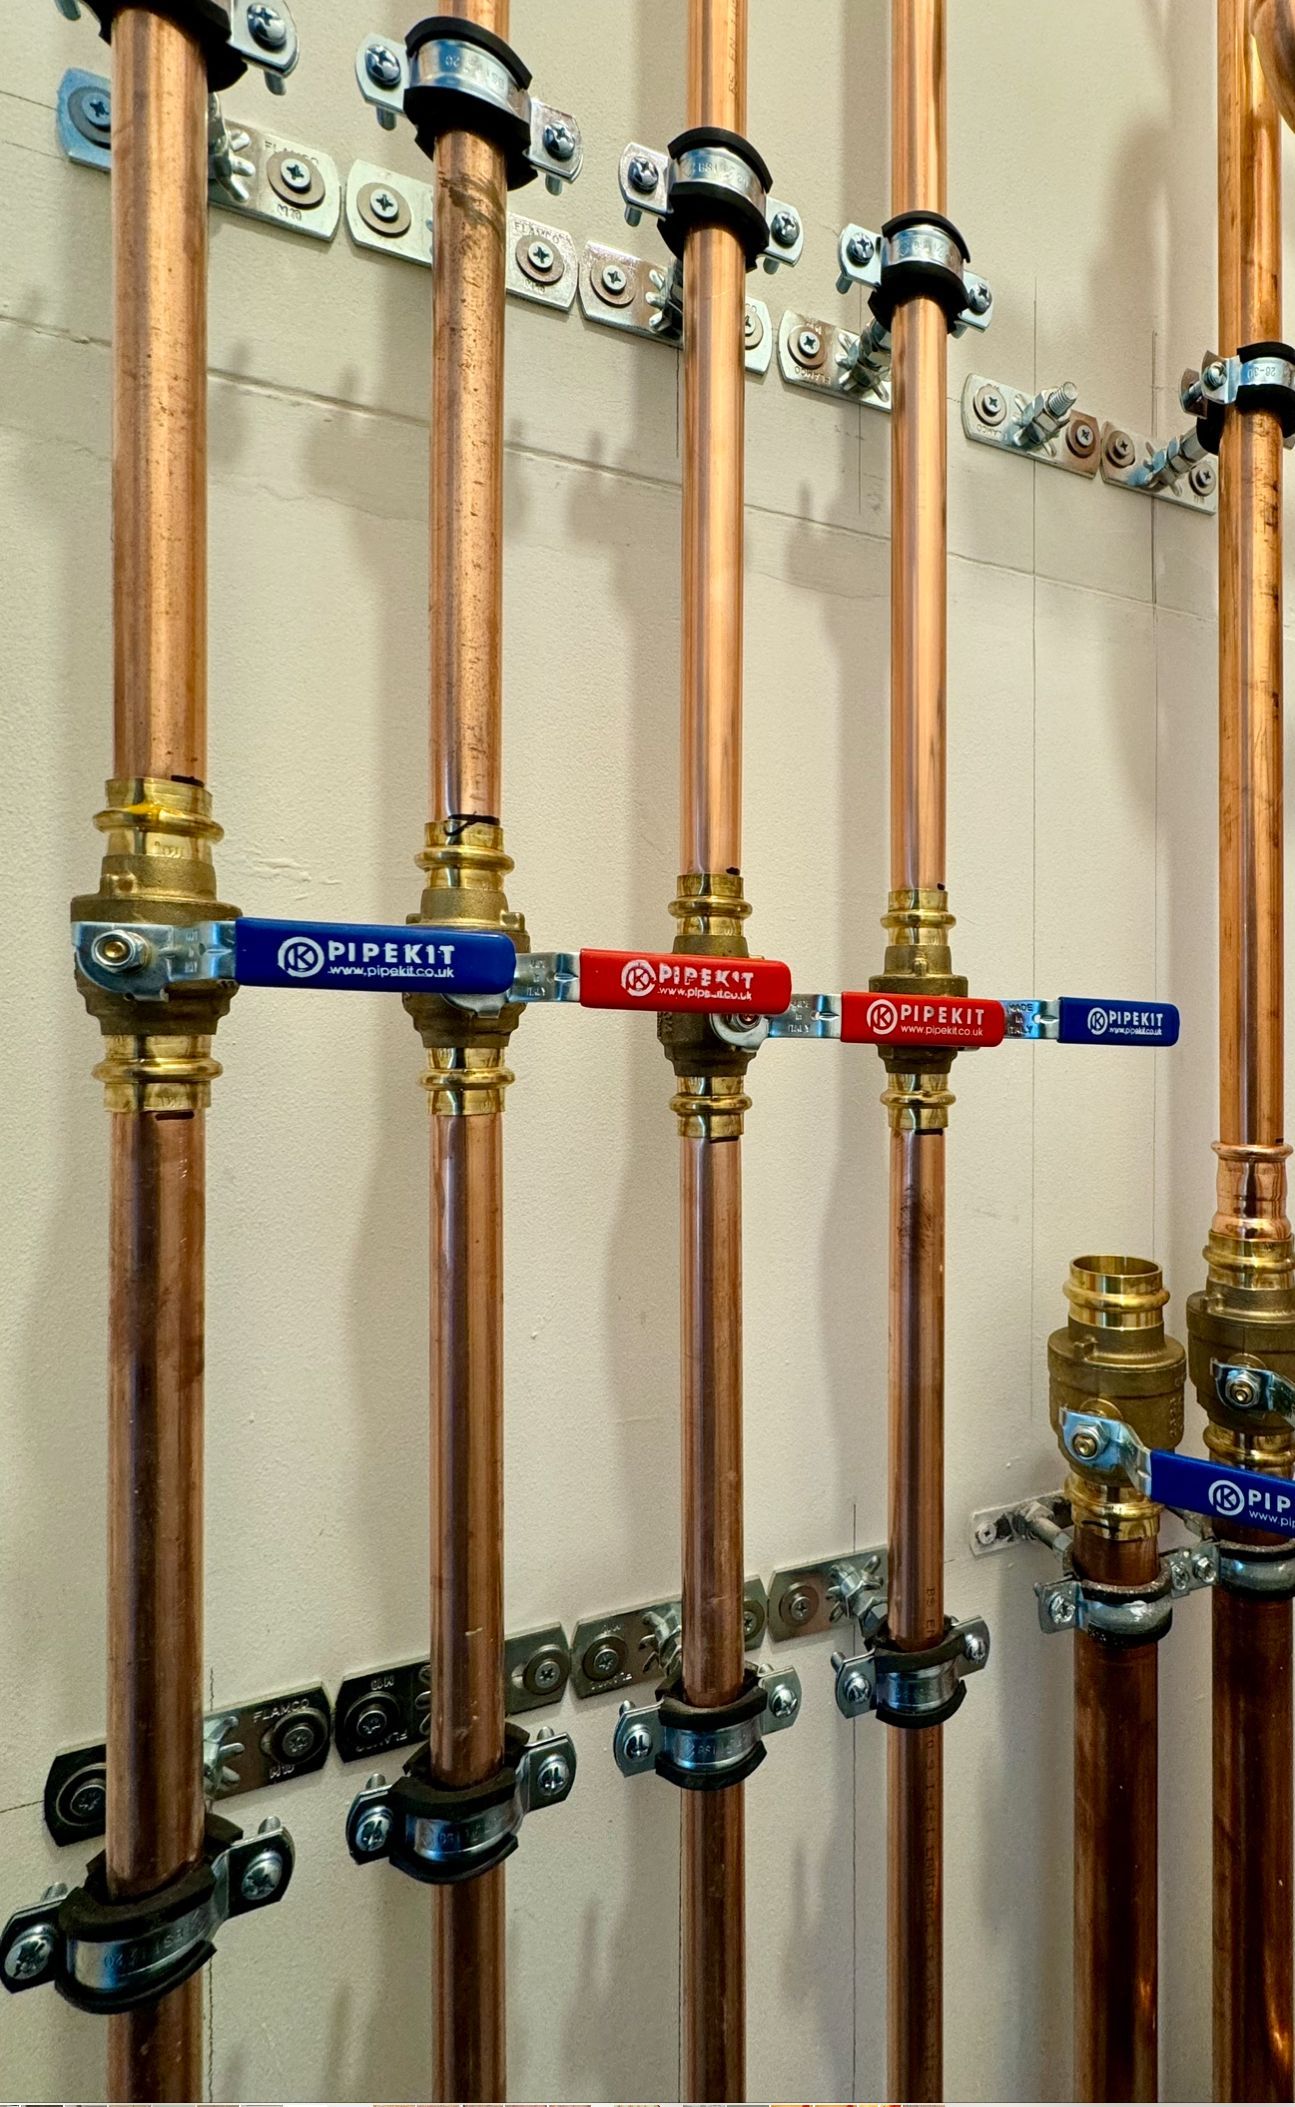
The images below are of a recent L Series installation which was for my Client's self build Home. The first fix for the installation was carried out in February and consisted of installing the Primary Flow & Return pipes which are in 35mm using 35mm Copper Mapress Fittings. The pipes ran from the airing cupboard upstairs to the location outdoors where the unit would eventually go. Along with the Flow & Return I installed the Discharge Pipe again in 35mm copper. The Discharge pipe terminates outside with a Tower Guard over it. The pipes were tested and sealed until the second fix which was in August. I had also ran the Interconnecting Cable
. My Client had boarded out the airing cupboard so the fixtures could be fitted to the wall in a neat manner. My Client had his Electrician fit the Supplies in place within the airing cupboard also. The pipework connections to the outdoor unit is very minimalistic with Inta Lever Valves and Antifreeze Valves with Primary Pro Jackets and Insulation. The Weather Compensation is set at 40 degrees when -5 outside and 30 degrees when 15 degrees outside so we should see some fantastic performance figures from this installation. A return to site in the next few days will be carried out to carry out final checks and a full commission of the system and prepare the Handover Pack. Overall I really like how minimalistic the installation is. The All-in-One is absolutely fantastic and Panasonic use a technology called U Vacua which incorporates state of the art multiple layer insulation for even higher efficiency for the cylinder within the AIO.


Panasonic Aquarea How To Tips
The links below will take you to the Official Panasonic Website which has YouTube Videos to show step by step use of the Controller, the Comfort Cloud App and give a more in depth explanation of the Panasonic Service Cloud
About: Panasonic Aquarea K and L Series Air Source Heat Pumps UK
I hope you have found this post helpful. I have tried to make it as informative as possible so as much information as practical is to hand within one post.
Please get in touch to discuss you project requirements and I will do my best to assist.
CONTACT US
Send Us a Message
